Starting with unity...again
For a couple of years now, I’ve wanted to play (hah!) with game development. Not because of any big dreams or goals, but just because it seems like a fun sideproject.
It’s quite far from my day job and allows me to do things I don’t usually get to do. I started out with unity a couple of times, followed various tutorials, but never really got anywhere. This time around, I’m trying to document my experience. Not because it will magically make me more productive, but it may help me get started faster the next time around.
So, to be clear, this is not a tutorial. It’s more of a log of what I do and the things I learned. I will probably make stupid mistakes, since I know almost nothing of unity and game development.
Getting up to speed
I started by Installing the latest Long term release from unity hub, which I had still installed. I choose the most recent LTS version, which, at the time of writing, was 2019.4.18f1. Everything I write below, and all unity posts that follow will be using this version.
Then I created a new project and had to choose from various options: 3D, 3D with extras, High definiton RP, Universal render pipeline and a bunch of greyed out options. Went with the Universal render pipeline since that is going to be the new default for 3D in the future.
Opening the project in unity gave me a default scene with models and materials. I did not delete them, rather, I created a new, empty, scene.
Showing some stuff
The idea is to create some sort of room, where I’ll be able to walk around with a character and test how stuff works in unity. I start by adding a floor:
- Used a plane, but that didn’t show up in game mode. No idea why. TODO: figure out why.
- Removed the plane, replaced with a cube. Made the cube bigger. TODO: add screenshot of floor coordinates
- The floor did not align with the unity grid, so I repositioned it. TODO: add new coords
- Created a wall out of unity cubes. Played a bit with textures included in unity. Replaced cubes with larger walls
Lights, camera, action! ..Or at least camera
The thing I want to build is a sort of bar in a spaceship with a cyberpunk vibe. All of this in a orthographic/isometric perspective, with some clean, low-poly 3D graphics.
Found an article with orthographic camera tips for Unity3D, that I tried to follow, I set the camera to orthographic, the near camera to -1000, and locked the viewport gizmo to orthographic.
You can also set the size of the camera in unity. When changing it you zoom in/out. This allows you to show more or less (or the same amount) of a level across different resolutions and/or aspect ratios. While I should set it programatically, for now, I just set it to somthing that looks nice. More information can be found at:
- [Ortho cam size according to resolution](https://answers.unity.com/questions/526841/changing-ortho-cam-size-according-to-resolution.html)
- [Understanding orthographic camera size](https://answers.unity.com/questions/923782/please-help-to-understand-orthographic-camera-size.html) -
- [Camera-Orthographicsize](https://docs.unity3d.com/ScriptReference/Camera-orthographicSize.html)
With the default camera position you’ll be looking at your scene in game from a sideview. What I want is a more top down view, so I rotated the camera accordingly:
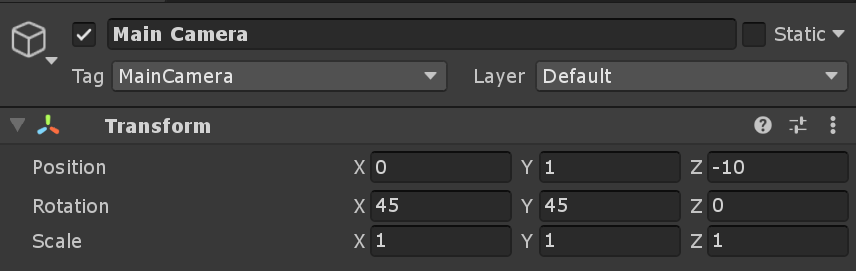
Unfortunately, I’m now no longer centered on my scene:

so I had to reposition the camera a bit. This should probably be programatically set in the future.
Moving around
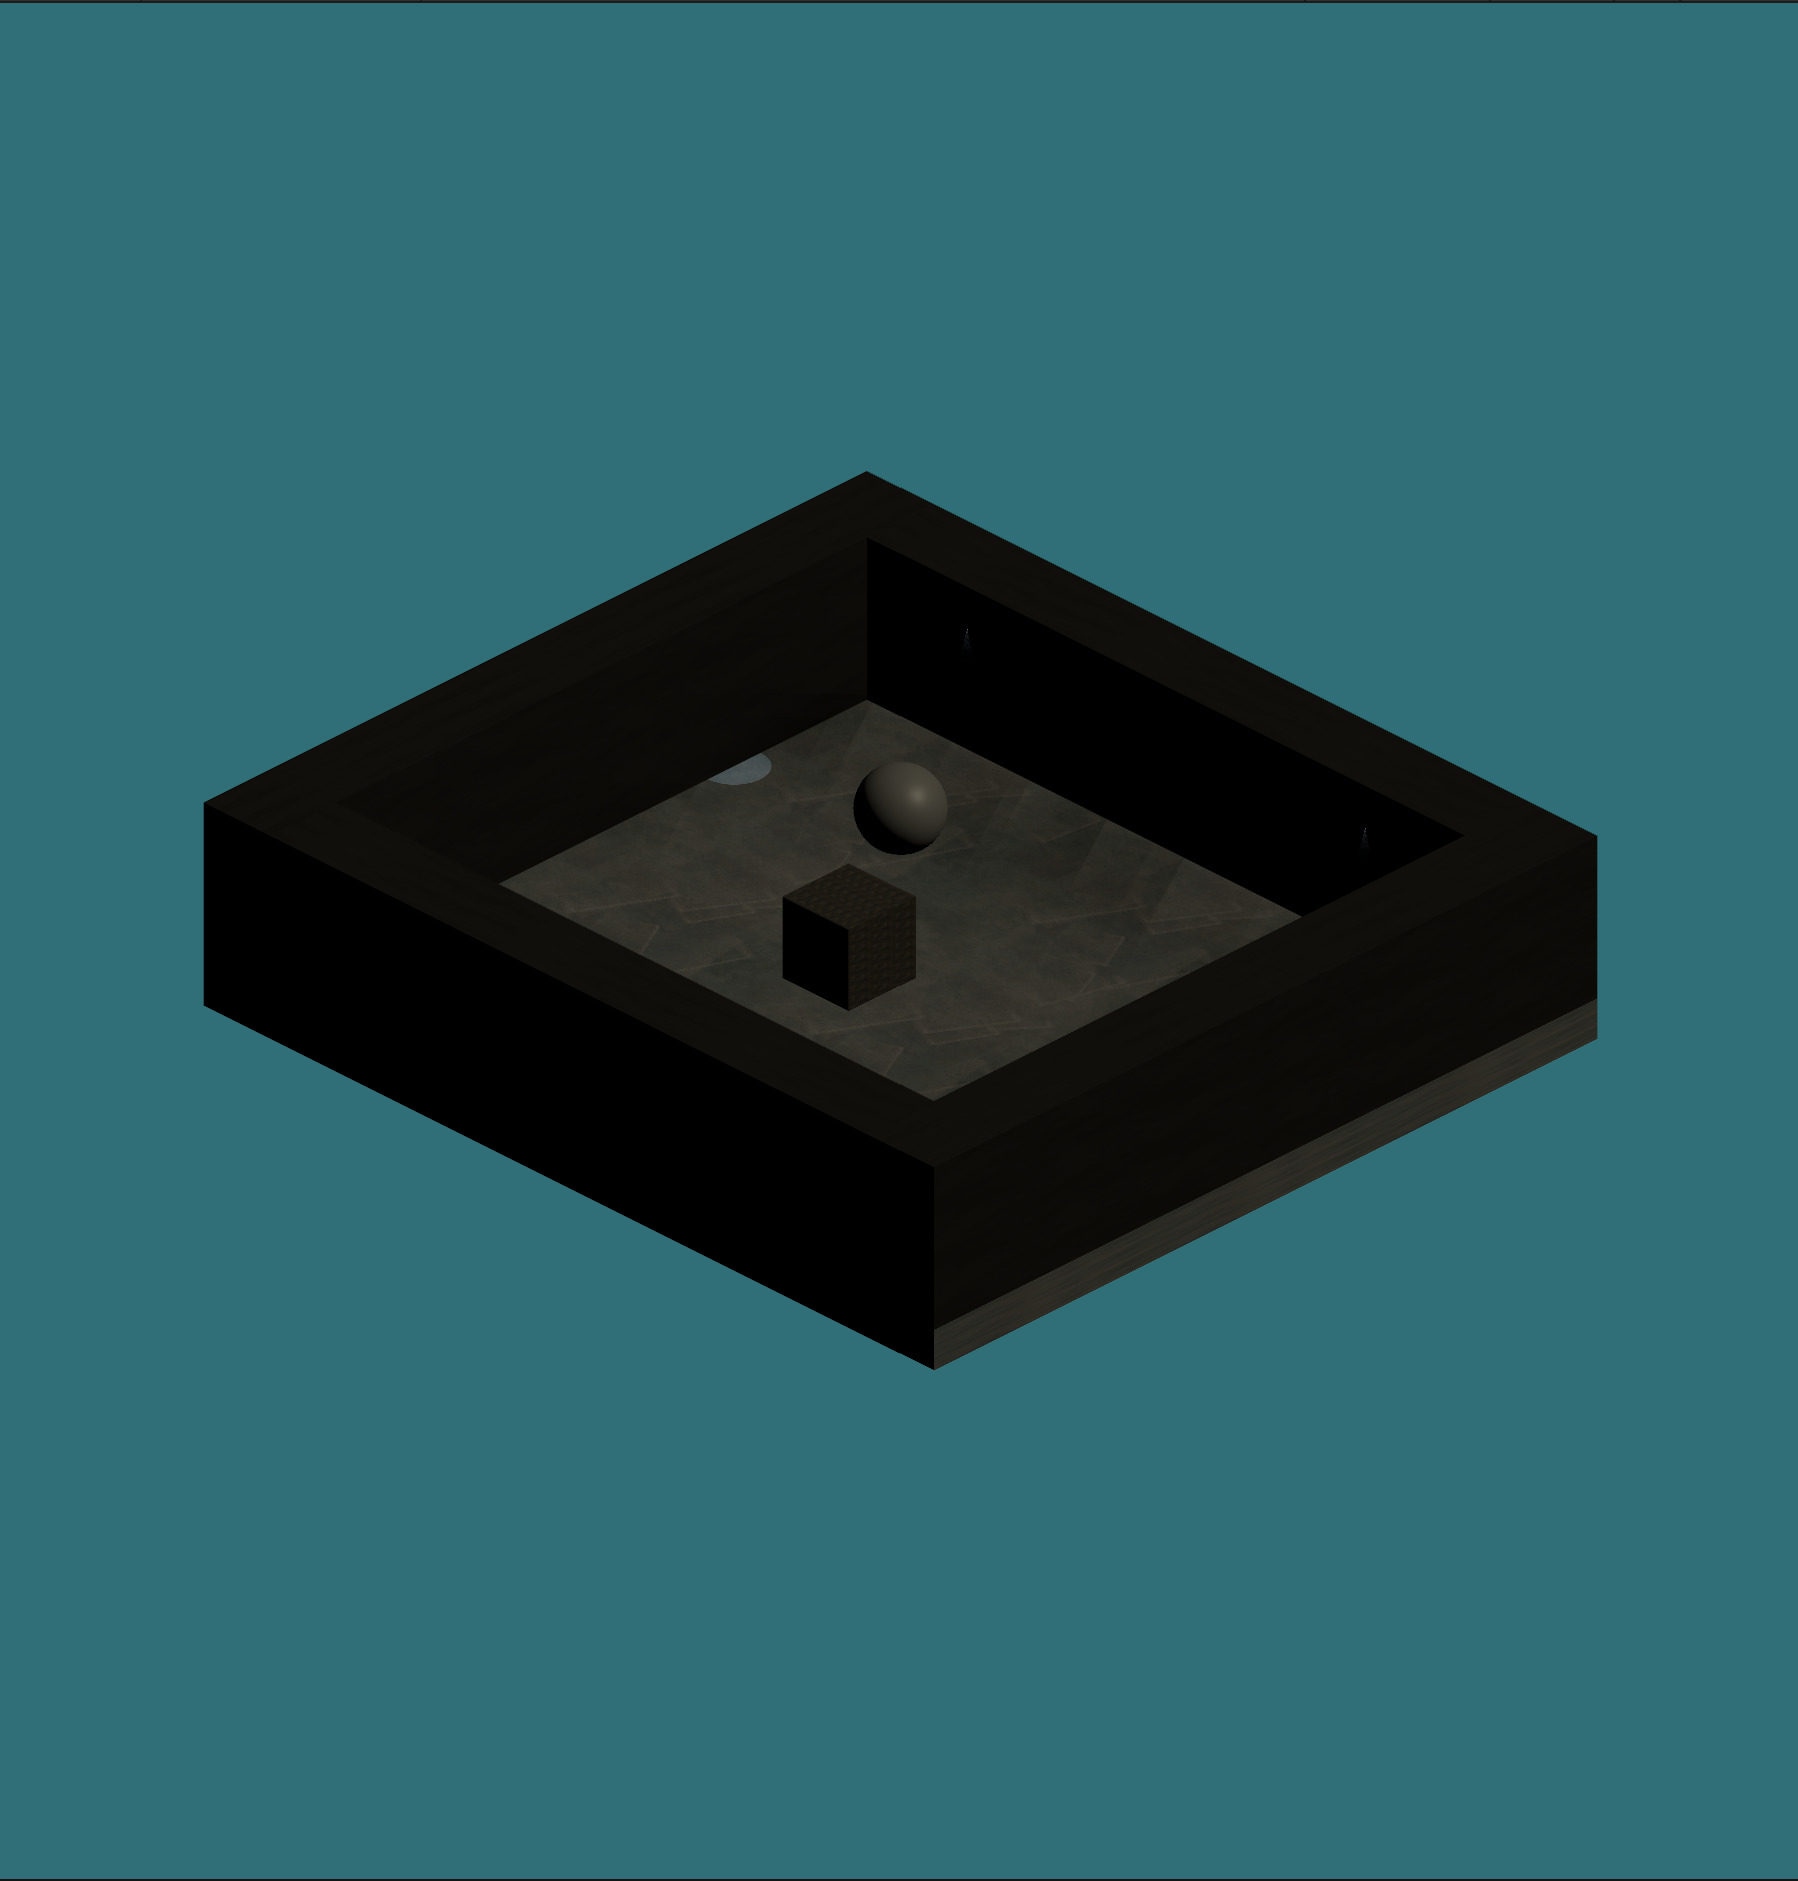
Just to see the effect of the lightning I added a sphere and a cube. The cube will serve as my “character” for now. So I attached a rigidbody to the cube, along with a script for basic character movement:
using System.Collections;
using System.Collections.Generic;
using UnityEngine;
public class CharController : MonoBehaviour
{
    [SerializeField]
    float moveSpeed = 4f; //Change in inspector to adjust move speed

    Vector3 forward;
    Vector3 right;

    void Start(){
        forward = Camera.main.transform.forward; // Set forward to equal the camera's forward vector
        forward.y = 0; // make sure y is 0
        forward = Vector3.Normalize(forward); // make sure the length of vector is set to a max of 1.0
        right = Quaternion.Euler(new Vector3(0, 90, 0)) * forward; // set the right-facing vector to be facing right relative to the camera's forward vector
    }

    void Update()
    {
        if (Input.anyKey) // only execute if a key is being pressed
            Move();
    }
    void Move()
    {
        Vector3 direction = new Vector3(Input.GetAxis("Horizontal"), 0, Input.GetAxis("Vertical")); // setup a direction Vector based on keyboard input. GetAxis returns a value between -1.0 and 1.0. If the A key is pressed, GetAxis(HorizontalKey) will return -1.0. If D is pressed, it will return 1.0
        Vector3 rightMovement = right * moveSpeed * Time.deltaTime * Input.GetAxis("Horizontal"); // Our right movement is based on the right vector, movement speed, and our GetAxis command. We multiply by Time.deltaTime to make the movement smooth.
        Vector3 upMovement = forward * moveSpeed * Time.deltaTime * Input.GetAxis("Vertical"); // Up movement uses the forward vector, movement speed, and the vertical axis inputs.
        Vector3 heading = Vector3.Normalize(rightMovement + upMovement); // This creates our new direction. By combining our right and forward movements and normalizing them, we create a new vector that points in the appropriate direction with a length no greater than 1.0
        transform.forward = heading; // Sets forward direction of our game object to whatever direction we're moving in
        transform.position += rightMovement; // move our transform's position right/left
        transform.position += upMovement; // Move our transform's position up/down
    }
}
The source for the script is Isometric camera and movement in unity. It’s far from perfect and pretty glitchy, but for now, it suffices.
All of this produces the following result: